There’s something almost hypnotic about that first crackle when a scallop hits a hot pan. That caramelized crust forming in seconds is the secret to unlocking layers of texture—crispy on the outside, tender and custardy inside. It’s a dance of heat and patience, a little chaos in the kitchen that pays off with every bite.
I love how simple ingredients can become something extraordinary with just a good sear. No fancy sauces needed—just butter, a touch of lemon, and your attention. It’s a dish that reminds me why I started cooking in the first place: to chase those perfect, fleeting moments of flavor and texture.
Seared scallops feel like a small victory, a quick win that makes weeknights feel special. The process is straightforward, but getting that crust just right takes a bit of practice—once you nail it, it’s hard to go back to anything less.
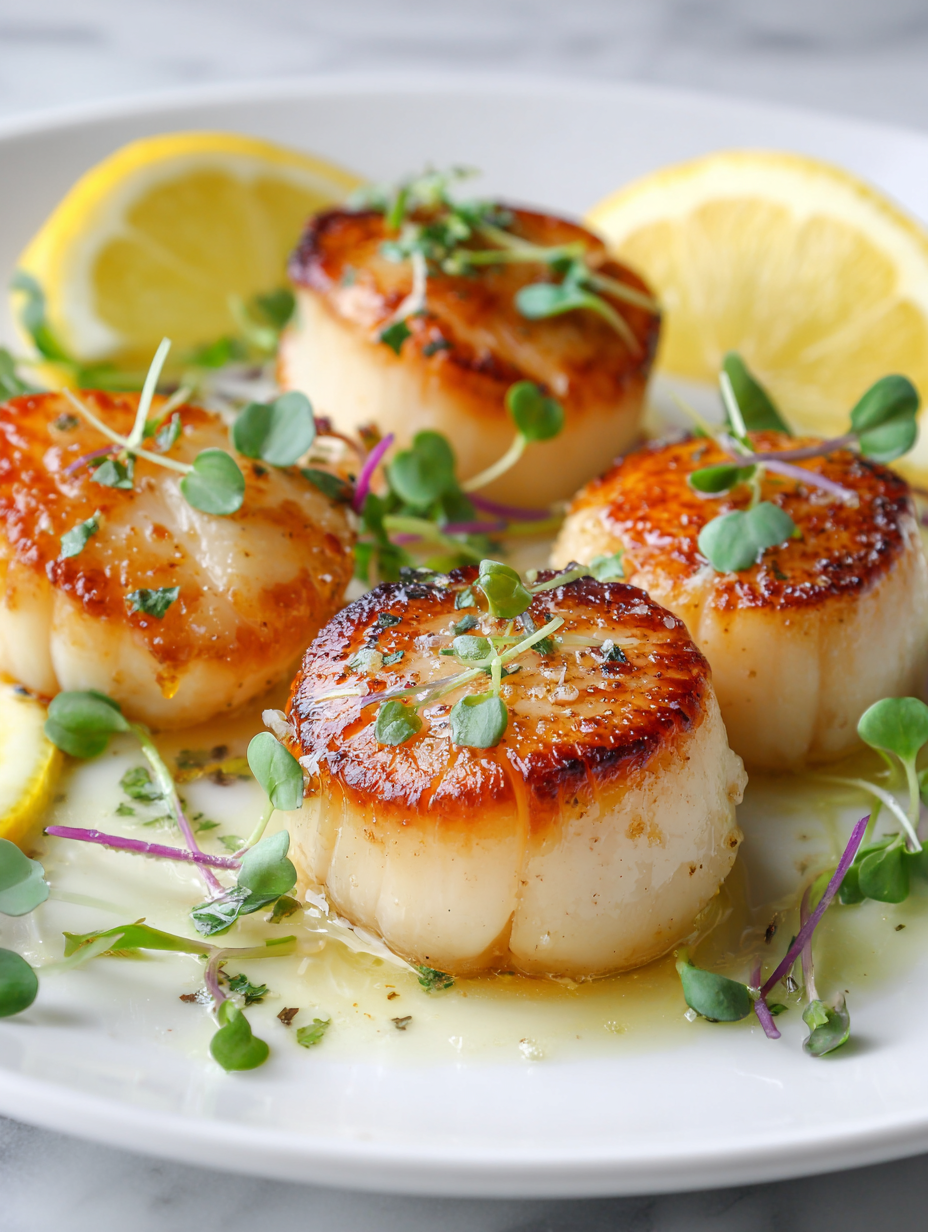
Focusing on how the perfect sear creates a caramelized crust that contrasts beautifully with the tender, almost custardy interior—highlighting the textural dance and sensory pleasure of this simple, elegant dish.
The textural contrast of seared scallops
- That moment when the scallops hit the pan and the sizzle instantly fills the kitchen—pure satisfaction.
- I still get a little nervous flipping them, but when that caramelized crust forms, I feel like a pro.
- There’s a nostalgic rush in knowing how just a few minutes can turn these simple gems into something memorable.
- The smell of buttery, seared scallops always pulls me back to early mornings at the coast—fresh and honest.
- Nothing beats that perfect balance of crispy exterior with a melt-in-your-mouth interior—every single time I nail it.
The art of patience in searing
- Seared scallops remind me of the first time I cooked them for friends. That moment when the pan’s heat hits the scallops just right, and you hear that satisfying sizzle—that’s pure magic. It’s a dish that’s simple but demands attention, almost meditative in its precision.
- I once tried to rush the sear, thinking more heat would give me a better crust. Ended up with burnt edges and raw centers—lesson learned. Now I know it’s about patience and timing, letting each side develop that perfect caramelization slowly and deliberately.
- heading
- story_type
Historical & Cultural Bits
- The technique of searing seafood like scallops dates back to classical French cuisine, where crusty, caramelized edges signified skill.
- Scallops have been a delicacy since ancient times, prized by the Romans and Greeks for their sweet, tender meat.
- The term ‘scallop’ comes from the Old French ‘escalope,’ meaning a shell, referencing their beautiful, fan-like shells.
- Traditional searing methods involve dry heat to develop that perfect Maillard reaction on the surface without overcooking the interior.
- In coastal regions, local fishermen often sear freshly caught scallops simply with butter and herbs—preserving their natural sweetness.
Key ingredients and tips
- Scallops: I prefer fresh, dry-packed ones—they sear better, with that oozy, caramelized crust you want to see. If yours are wet, pat them thoroughly; excess moisture will steam instead of sear.
- Salt: A generous sprinkle of sea salt helps draw out moisture and enhances sweetness. Too much can be overwhelming, so be gentle if your scallops are already salty.
- Black Pepper: Freshly cracked adds a subtle heat and complexity. Skip it if you want a more delicate flavor, or add it just after searing for a burst of aroma.
- Butter: I use unsalted butter for that rich, nutty flavor. If you prefer dairy-free, olive oil works but won’t give that same luscious finish—consider finishing with a splash of good-quality oil or a drizzle of sesame for depth.
- Lemon: Brightens everything—just a squeeze right after searing. For a smoky twist, try a dash of smoked paprika mixed with lemon zest before serving.
- Oil: High-smoke-point oils like grapeseed or canola prevent burning at hot temperatures. If you want extra flavor, a touch of clarified butter can help—but watch the heat.
- Herbs (optional): Parsley or chives add freshness if you like a green note. Always add just at the end to keep their vibrant flavor and color.
Spotlight on key ingredients
Scallops:
- I prefer dry-packed, fresh scallops—they sear into a beautiful, oozy crust. Wet scallops tend to steam, so pat them dry thoroughly.
- Salt: I use coarse sea salt to draw out moisture and boost sweetness. Too much can overpower, so season with restraint and taste as you go.
Butter & Lemon:
- Butter: Unsalted butter gives that rich, nutty flavor and helps create a glossy, caramelized crust. If dairy-free, olive oil works but misses some depth.
- Lemon: Bright and sharp, a squeeze of lemon right off the heat lifts the dish. For smoky tones, try a dash of smoked paprika with the lemon zest.
Notes for ingredient swaps
- Seafood: Frozen scallops can work in a pinch, but ensure they are thoroughly thawed and patted dry to avoid excess moisture that hampers searing.
- Oil: If you don’t have high-smoke-point oil like grapeseed, light avocado oil is a great alternative—just watch the heat to prevent smoking.
- Butter: Vegan butter or a good-quality olive oil can replace butter, but expect a slightly different flavor and less richness on the crust.
- Lemon: Lime juice offers a similar bright, acidic touch, or swap with a splash of vinegar for a tangier profile.
- Herbs: Parsley or chives keep it fresh, but basil or tarragon add a different aromatic punch if you prefer more pronounced herbal notes.
- Salt: Kosher salt is ideal for seasoning, but fine sea salt works just as well—just be mindful of quantity to avoid oversalting.
- Pepper: White pepper gives a milder heat and less visual contrast, or skip entirely if you want a more delicate flavor.
Equipment & Tools
- Heavy skillet (cast iron): Provides even heat for a good sear.
- Tongs or fish spatula: To flip scallops gently without breaking them.
- Paper towels: Dry scallops thoroughly for optimal searing.
- Small bowl: For seasoning or finishing ingredients.
Step-by-step guide to pan searing
- Gather all equipment: a heavy skillet (preferably cast iron), tongs, a small bowl, and paper towels. Preheat the skillet over medium-high heat until hot, about 2-3 minutes (around 200°C/390°F).
- Pat the scallops dry with paper towels. Remove any side muscle. Season generously with sea salt on all sides. If using, lightly pepper just before searing.
- Add a high-smoke-point oil (like grapeseed or canola) to the hot skillet—just enough to coat the surface. Swirl to distribute evenly. Watch for shimmer and slight crackle.
- Carefully place scallops in the pan, spaced apart. Do not overcrowd; work in batches if needed. Let them sear undisturbed for about 2 minutes. They should develop a golden-brown crust.
- Flip the scallops using tongs or a fish spatula. Sear the second side for another 1-2 minutes. Look for a deep caramel color and a slight jiggle in the center when pressed gently. If edges start to burn, lower heat slightly.
- Check for doneness: the scallops should be opaque through the center with a firm but tender texture. If they feel too soft or look translucent, give them another 30 seconds, but no more to avoid overcooking.
- Remove from heat and immediately add a pat of butter or a squeeze of lemon if desired. Let rest for 1 minute to allow juices to settle. Plate carefully, avoiding overcrowding, and garnish with herbs if using.
Let the scallops rest briefly on a warm plate for 1 minute. Finish with a squeeze of lemon or a pat of butter. Serve immediately while still warm and crispy on the outside, tender inside.
How to Know It’s Done
- Color: Deep golden crust on each side.
- Texture: Firm but tender, with a slight jiggle.
- Appearance: Center opaque, edges caramelized without burning.
Perfectly Seared Scallops
Ingredients
Equipment
Method
- Pat the scallops dry thoroughly with paper towels to remove excess moisture, which helps achieve a crisp sear. Season generously with sea salt on all sides, and add freshly cracked black pepper if desired.
- Preheat a heavy skillet over medium-high heat until hot, about 2-3 minutes, until you see slight shimmer and hear a faint crackle when adding oil.
- Add the high-smoke-point oil to the hot pan and swirl to coat the bottom evenly. Place the scallops carefully into the pan, spaced apart, and avoid overcrowding to ensure proper searing.
- Let the scallops sear undisturbed for about 2 minutes, watching for a deep golden-brown crust to form and a sizzle that fills the kitchen with rich aromas.
- Use tongs or a fish spatula to gently flip each scallop, then add the butter to the pan. Sear the second side for another 1-2 minutes, until the crust is deep golden and the scallops feel firm but tender when gently pressed.
- Check for doneness: the scallops should be opaque through the center with a slight jiggle, and the crust should be caramelized and crispy. Remove from heat and immediately squeeze fresh lemon over the scallops to brighten the flavors.
- Finish with chopped fresh herbs like parsley or chives for a pop of color and freshness, if desired.
- Serve immediately while the crust is crispy and the interior remains tender and custardy. Enjoy these beautifully seared scallops as a quick, elegant main course.
Pro tips for perfect scallops
- Dry scallops well: Use paper towels to remove excess moisture; it’s key to a good sear and crispy crust.
- Preheat the pan: Get your skillet hot—around 200°C/390°F—so the scallops sizzle immediately upon contact.
- Don’t overcrowd: Cook in batches if needed; too many scallops at once lowers the heat and ruins that caramelized exterior.
- Flip at the right moment: Turn when the scallops develop a deep golden crust and release easily from the pan, about 2 minutes per side.
- Use high-smoke-point oil: Grapeseed or canola prevents burning; add just enough to shimmer without smoke and crackle.
- Finish with butter or lemon: Right after searing, add a pat of butter or squeeze lemon for extra flavor and shine.
- Rest briefly: Let scallops sit for 1 minute after cooking; it helps juices settle and keeps them tender.
Common mistakes and how to fix them
- FORGOT to dry scallops thoroughly → Pat dry to prevent steaming and ensure sear.
- DUMPED oil into a cold pan → Always preheat pan first for optimal crust formation.
- OVER-TORCHED the scallops → Adjust heat to medium-high; aim for golden crust, not burnt edges.
- MISSED flipping at right time → Flip when scallops have deep golden crust and release easily.
Quick fixes and pantry swaps
- If scallops release water, gently pat them dry to achieve a better sear.
- Splash hot oil into the pan to prevent sticking and ensure even browning.
- Patch burned crusts by lowering heat and adding a splash of water to deglaze and refresh.
- Shield scallops with foil if over-torched, then reduce heat to finish cooking evenly.
- When in doubt, swap out pantry oil for avocado oil for a higher smoke point and cleaner sear.
Prep, store, and reheat tips
- Prep the scallops by patting them dry and seasoning ahead; this ensures a quicker, more even sear when cooking.
- Store uncooked scallops in an airtight container in the fridge for up to 24 hours; for best results, cook within this window to preserve freshness.
- Cooked scallops can be refrigerated in an airtight container for up to 2 days. Reheat gently in a hot skillet, just until warmed through, to maintain their tender texture.
- Reheating may cause some loss of the initial crispness; serve promptly and avoid overcooking during reheating to keep the texture tender and flavorful.
Top questions about pan seared scallops
1. How do I get a crusty exterior on scallops?
Use dry-packed scallops, not wet ones, to get that perfect caramelized crust. Wet scallops steam instead of sear.
2. Why are my scallops sticking or steaming?
Pat scallops dry with paper towels before cooking. Excess moisture prevents proper searing and makes them soggy.
3. How hot should the pan be?
Preheat your pan over medium-high heat until shimmering—around 200°C/390°F—to ensure immediate sizzle and crust formation.
4. When should I flip the scallops?
Flip the scallops when they develop a deep golden crust and release easily from the pan, about 2 minutes per side.
5. How do I know when scallops are cooked?
Don’t overcook! They’re done when opaque through the center with a firm, tender texture—about 2-3 minutes total.
6. Should I add lemon or butter before serving?
Finish with a squeeze of lemon or a pat of butter immediately after cooking to enhance flavor and add shine.
7. What oil is best for searing scallops?
Use high-smoke-point oils like grapeseed or canola to prevent burning and ensure a good sear. Avoid olive oil at high heat.
8. How should I store scallops before cooking?
Store fresh scallops in the coldest part of your fridge, ideally in a sealed container, and cook within 24 hours for best flavor.
9. Can I reheat scallops?
Reheat cooked scallops gently in a hot skillet, just until warmed through—about 1 minute—to keep them tender and avoid overcooking.
10. What do I do if scallops stick or burn?
If scallops release water, pat them dry again before searing. If they burn, lower the heat and add a splash of water to deglaze.
There’s something about that perfect sear—crisp, caramelized, almost nutty—that makes these scallops feel special, even if they’re just for a quick weeknight dinner. That initial sizzle, the smell of butter and seafood mingling—it’s a reminder of how simple, honest cooking can be so satisfying.
Once you’ve nailed the timing and temperature, this dish becomes a reliable way to elevate any meal. It’s a straightforward technique, but each flawless crust feels like a small, personal victory—something worth savoring, every single time.

Hi, I’m James Whitmore, the creator behind Salt Evangelist. If there is one ingredient I believe deserves more respect, it is salt. Not because it makes food salty, but because it makes food come alive. Salt highlights sweetness, softens bitterness, sharpens acidity, and deepens savoriness. It is not just seasoning. It is transformation.

